Published January 10, 2024
Registration Checklist: A First-Year’s Guide to Course Registration

Course registration can be tricky, especially for first-year students. Between learning how to navigate Albert, crafting the perfect schedule, and understanding the difference between Swap and Edit Swap, the enrollment period can feel annoying at best and stress-inducing at worst. But, good news! This checklist covers the key strategies every student should know before signing up for classes.
Registration Checklist
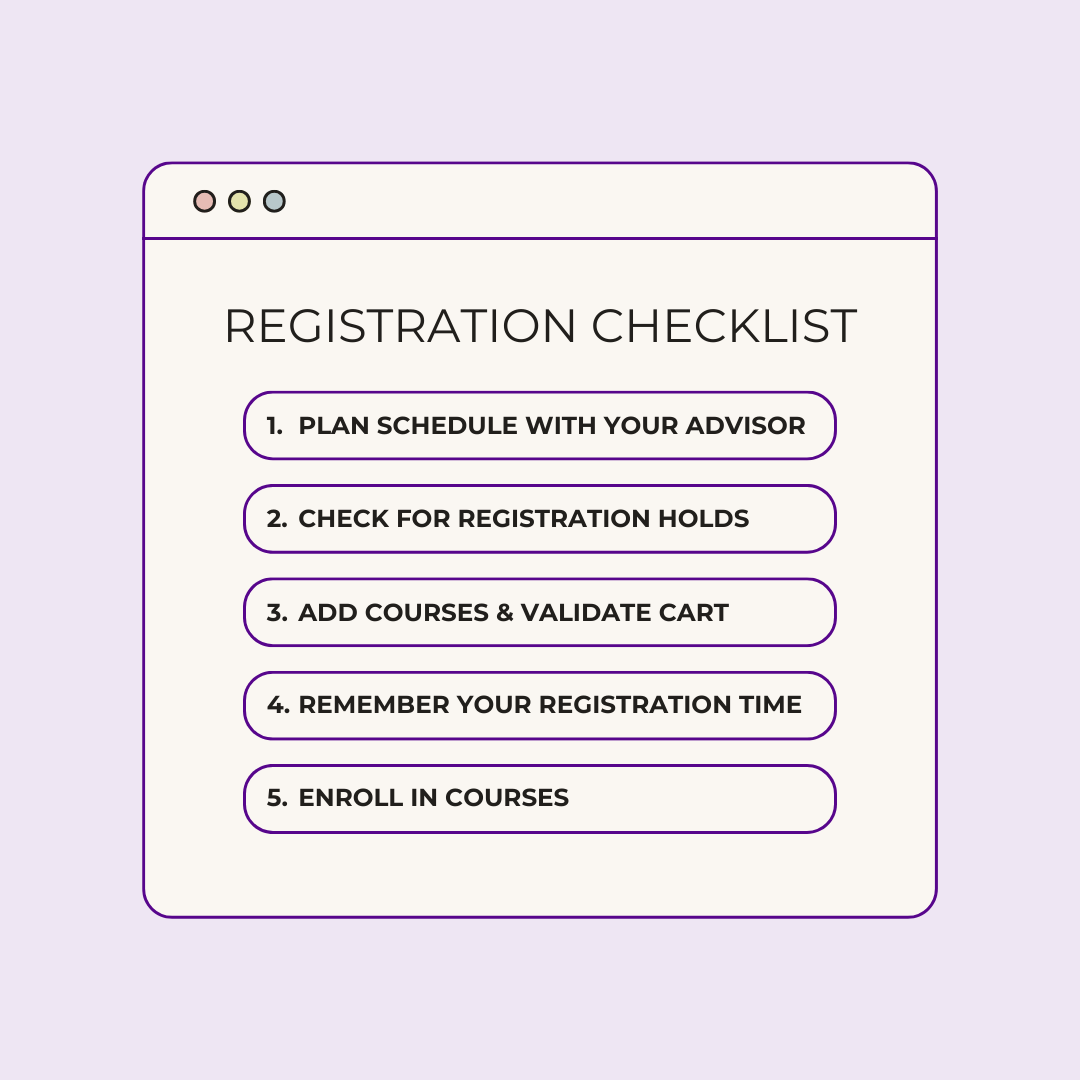
Planning Your Schedule
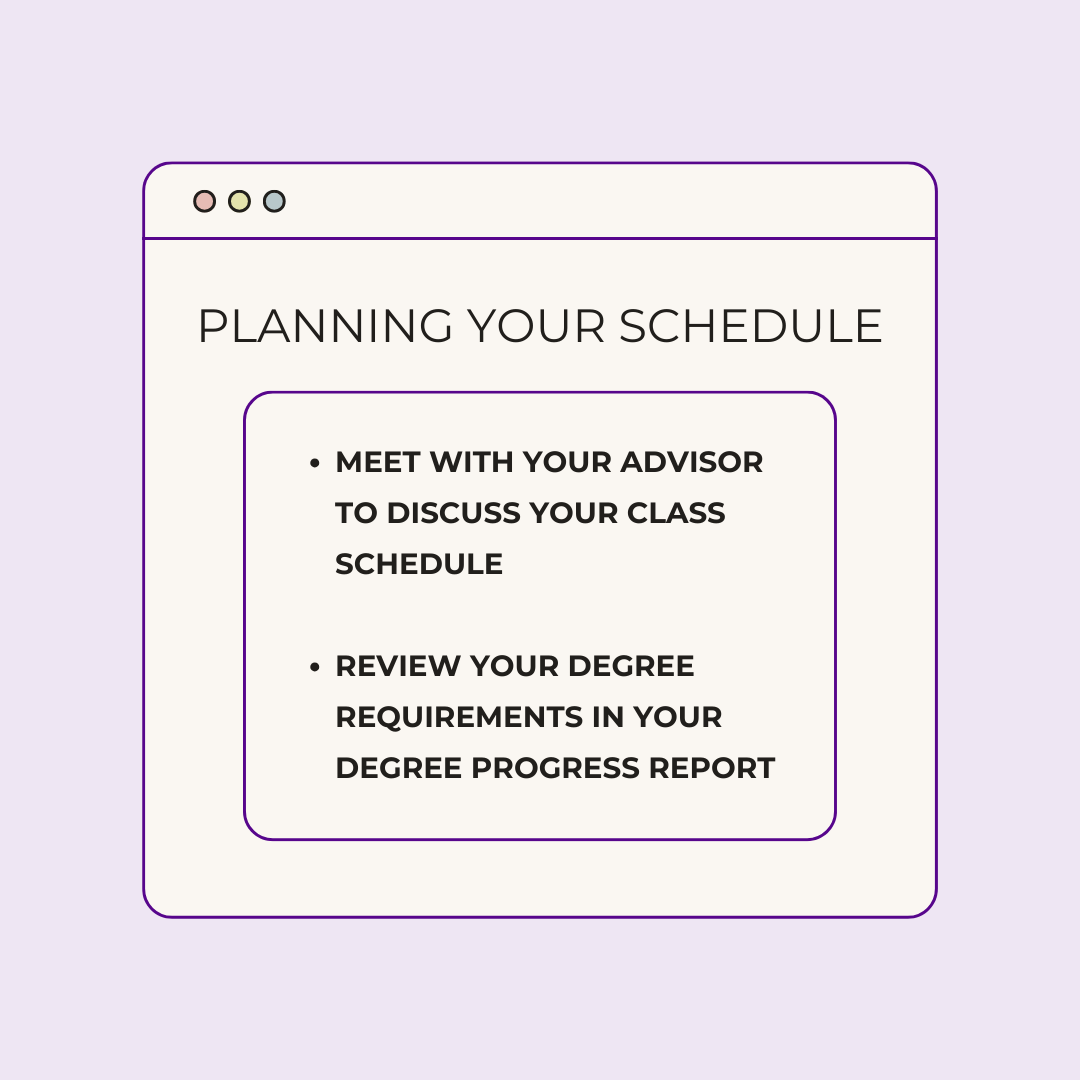
It is always helpful to plan your schedule in advance so that you have a good idea of the courses you will take in the upcoming semester. Before registration begins, make time to explore the classes your program offers and create multiple schedules that interest you and fulfill your major (and minor) requirements.
When making your schedule for the next semester, keep note of how each course impacts your degree requirements. Consult your academic advisor, especially if your program requires clearance to register for courses or if you have trouble choosing the right classes. You can find your advisor’s contact information in Albert’s Student Center. Additionally, you can check your Degree Progress Report to see your progression and what courses you still need to take. Most NYU students can track their progress in Albert. Stern and SPS students can track their progress using Stellic.
Checking for Holds
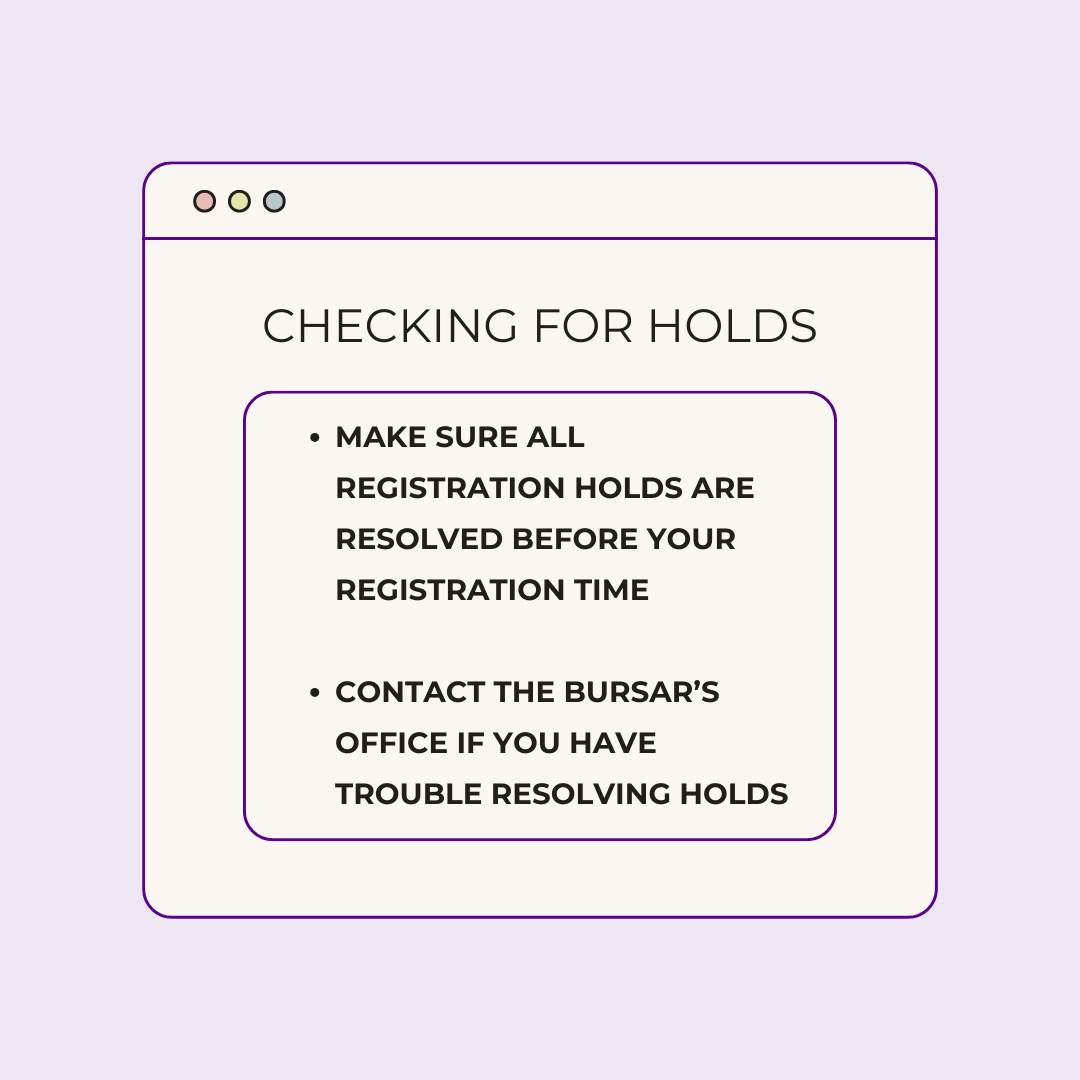
Before registering for classes, check to see if you have any holds that can prevent you from course sign-ups. To find out if you have any holds, log into Albert and, while in the Home tab, look for the section that says “Holds” at the top of your screen. If it’s blank, then you’re good to go, but if there are holds in place, read the descriptions to learn how to remove them. Here is a list of the types of holds you may have on your registration. If you have trouble removing any holds, contact the Bursar’s Office to get more information.
Adding & Validating Courses
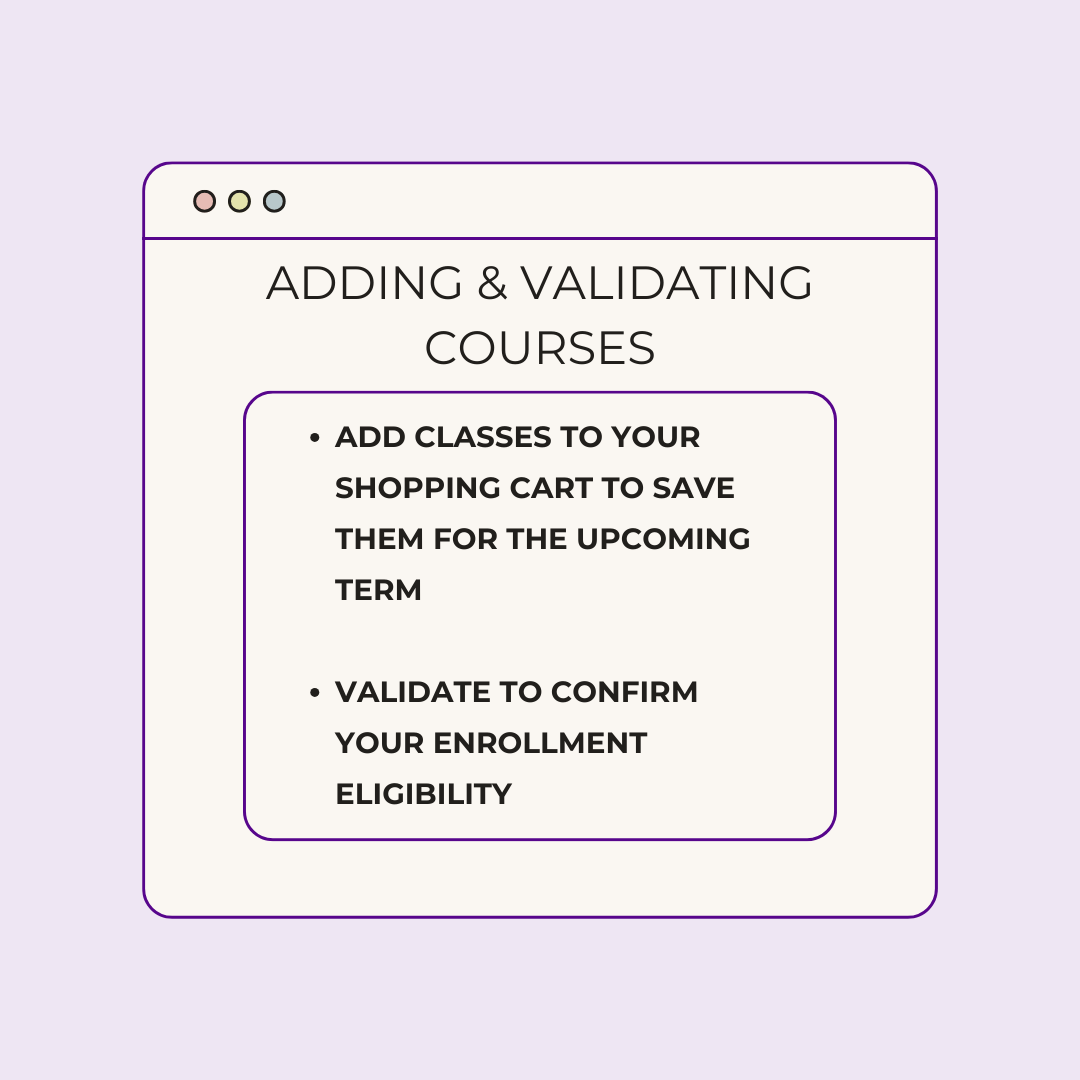
After looking through course offerings, you can save the ones you’re interested in by adding them to your Shopping Cart. This feature can help you plan your schedule by “bookmarking” your top choices, as well as any backup options you may have.
In addition, you should always validate your courses after adding them to your cart as this will tell you your enrollment eligibility. If there are any potential problems, such as prerequisites, co-requisites, or a limitation on enrollment, a pop-up will appear to let you know. If you need a course code or have any other questions, reach out to your academic advisor so you can be fully prepared for registration.
Registration Time
It is important to know when you can register for classes since students are assigned different dates and times throughout registration week each semester. New students typically register for the fall term in the summer while continuing students register in April. For the spring term, all students usually register in November. For more information, the Academic Calendar lists the general registration dates.
To find out your specific registration time, log into Albert and check the “Enrollment Dates” section on the Home page. Once you have your registration time, set an alarm on your phone, create a calendar event reminder, or highlight it in your planner so you’ll be fully prepared. I recommend registering as soon as possible for the best chance of getting your preferred classes.
Enrolling in Courses
To enroll in courses, follow this step-by-step tutorial.
On registration day, make time to set up your computer a few minutes before registration starts and double-check that all of the courses in your cart are still open by revalidating your classes. This will prepare you for any last-minute changes. You should also pre-select each of your top choices before registration begins for speedy enrollment.
As I mentioned above, it is useful to have backup classes ready to go in your Shopping Cart in case your first options fill up or no longer work with your schedule. After your registration time, you can change your schedule as much as you’d like until the Add/Drop period ends.
Below is a brief explanation of each registration tool. For step-by-step tutorials, click this link.
- Waitlists – used when a course is full. Be mindful that not all courses have waitlists. Here is a tutorial on how to join a waitlist.
- Swap – replaces an enrolled course with a class that is still open. Here is a tutorial on how to swap classes.
- Edit Swap – automatically replaces an enrolled course with one that you are on the waitlist for. Note that this feature will not swap the courses until you are off the waitlist for the desired class. Here is a tutorial on how to use the edit swap tool.
- Drop – removes an enrolled course from your schedule. Here is a tutorial on how to drop courses.
I know what it’s like not to get the classes you want and be forced to redo your schedule for the hundredth time, but hopefully, the strategies I gave you will help make course registration a little less stressful.
Related

A Guide to Finding Your Major at NYU
Deciding on a major when applying to school can be difficult. Here's a guide to help you make the right decision when applying to NYU.

Your Guide To Course Registration at NYU
Current NYU students offer up resources, opportunities and a few tips for a seamless course registration at NYU.

Your Guide to Getting Grants at NYU
Financing your college years can be difficult. Here's a detailed guide on how to get grants at NYU to help lighten the financial burden.